This getting started document guide you to setup your NCheck Bio Attendance system and perform the initial configuration of the attendance control system. You can follow below steps to setup and configure the system and start attendance recording.
NCheck Bio Attendance can support employee time attendance of any organization from small office to large multi-site organizations. It is scalable from a single standalone device to thousands of devices distributed in multiple locations. Therefore, it provides following deployment options. Deployment option is differentiate based on the place attendance data storage.
Starting a NCheck Bio Attendance biometric attendance management system prepares the attendance system database and the service to communicate with NCheck Bio Attendance clients. NCheck Bio Attendance database and the service can be set up
Cloud - In NCheck Bio Attendance cloud service
On-premises – NCheck Bio Attendance server installed in your place.
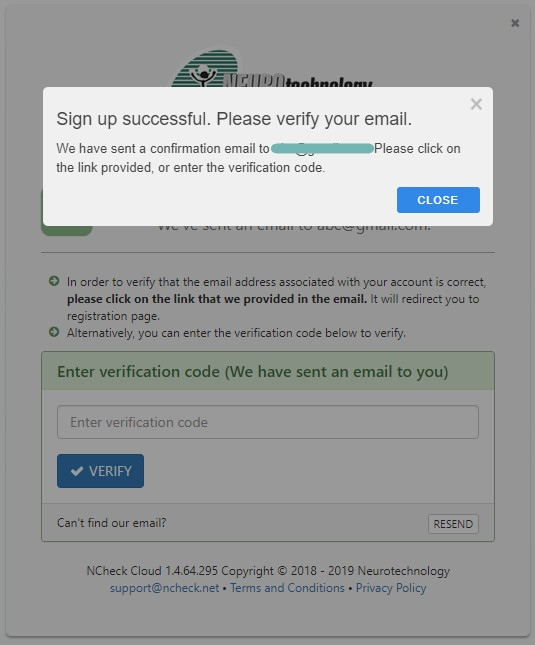
In the next step, you will be asked to verify the email address. A verification code will be sent to the email address you have given above. Enter the verification number in the email and select verify button to verify the given email. Optionally, you can use the verification link in the email to verify your email.
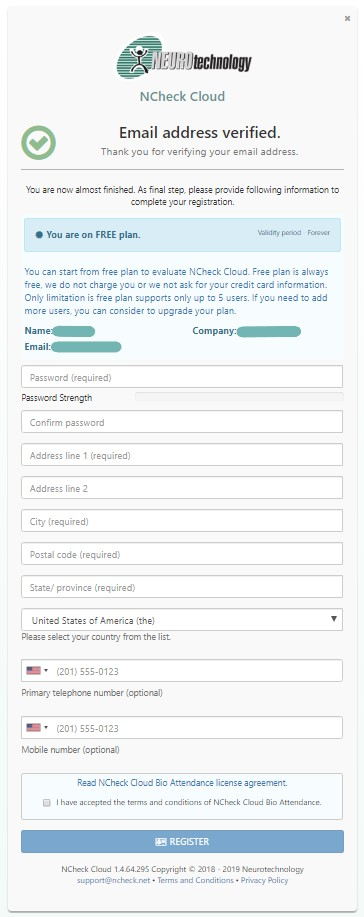
After the email address is verified, enter additional details as below. Accept the terms and conditions and select register button to complete.
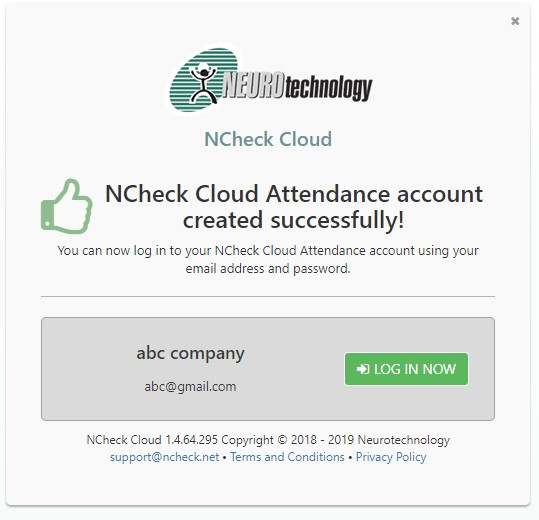
After successful registration, you will be asked to login to the NCheck Bio Attendance Cloud account shown as Figure 4
Figure 4 NCheck Bio Attendance Cloud sign up completion view
Note
Free plan will be assigned to your NCheck Bio Attendance Cloud subscription. You can change the plan of your subscription from administration control panel. Refer plans and pricing for more details about available subscriptions.
Start an attendance management system with the server
NCheck Bio Attendance can be setup in Windows and Linux platforms.
One biometric capture device such as camera, fingerprint, or iris scanner. Android and iOS, inbuild camera, Windows integrated and USB web cams are used for face capture. For other supported IP cameras, fingerprint readers and iris scanners, visit support devices at our web site
NCheck Bio Attendance can be downloaded from product downloads section of the web site
Note
Important: Your windows user account should have administrative privileges to install NCheck Bio Attendance server.
Note
Note: If the required Java runtime environment is not installed, Installer will ask to install Java runtime environment and stop NCheck Bio Attendance installation. In 64bit platforms, it needs to install both 64bit and 32bit java runtime environments.
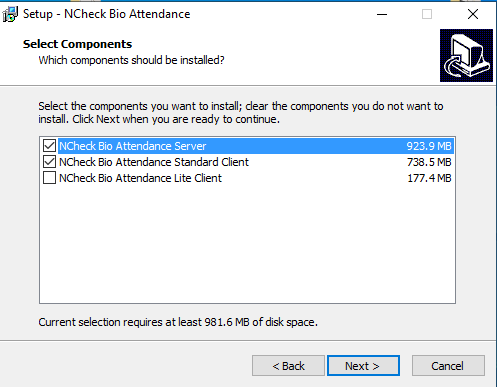
Run the installer package Select “NCheck Bio Attendance” option at component selection. NCheck Bio Attendance Standard client is always selected with the server.
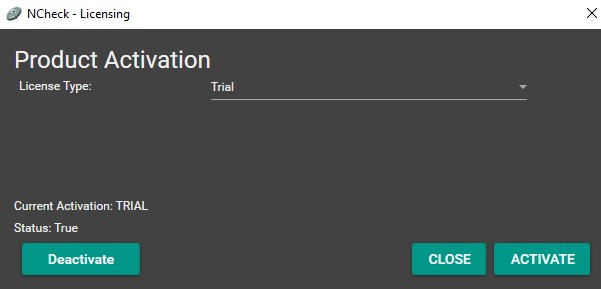
NCheck Bio Attendance installer will show the license activation window After the successful installation of the server.
Figure 6 Licensing window for NCheck Bio Attendance Standard client for Windows
Starting NCheck Bio Attendance server
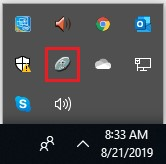
NCheck Bio Attendance server will start automatically, and server icon will be displayed in the windows tray. When the server is ready, the icon will be shown in the Windows tray as Figure 7 .
Figure 7 NCheck Bio Attendance tray icon view when the server is ready
Finish installation
Optionally, you can choose to launch Server Configuration window, NCheck Bio Attendance Standard client and User’s guide. Completion dialog also shows the NCheck Bio Attendance server status and TCP port of the server.
Figure 8 NCheck Bio Attendance installation completion dialogue for Windows
Refer Install for windows section for more details about install NCheck Bio Attendance server in Windows.
Note
You can activate the trial for evaluation purpose. Trial activation requires permanent internet connectivity. See license activation section for more details.
NCheck Bio Attendance administration and configuration application is NCheck Bio Attendance control panel application. This is a web-based application can be accessed using popular web browsers using following URL.
Table 2 Access NCheck Bio Attendance web control panel
Port – NCheck Bio Attendance service port configured on the server. Default port is 8443.
Standalone
Simple administration functions are provided in build with NCheck Bio Attendance application.
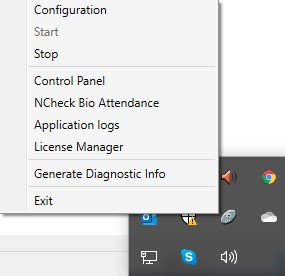
NCheck Bio Attendance control panel launcher application with extended data capture capabilities are available with the NCheck Bio Attendance Server and NCheck Bio Attendance Standard client installations. This application can be launched from
Figure 9 NCheck Bio Attendance system tray menu view
Table 3 Login to the NCheck Bio Attendance control panel
Server
Right click on the NCheck Bio Attendance server tray application icon and select “Control panel” menu item as shown in Figure 9 .
Windows Standard client
Open the application menu and select control panel. Client should have registered and connected with a NCheck Bio Attendance server.
Android Standard Client
Note
NCheck Bio Attendance server interface will work with recent versions of Mozilla Firefox, Google Chrome, Microsoft Edge, Opera and most common web browsers. It does not work with Internet Explorer browser.
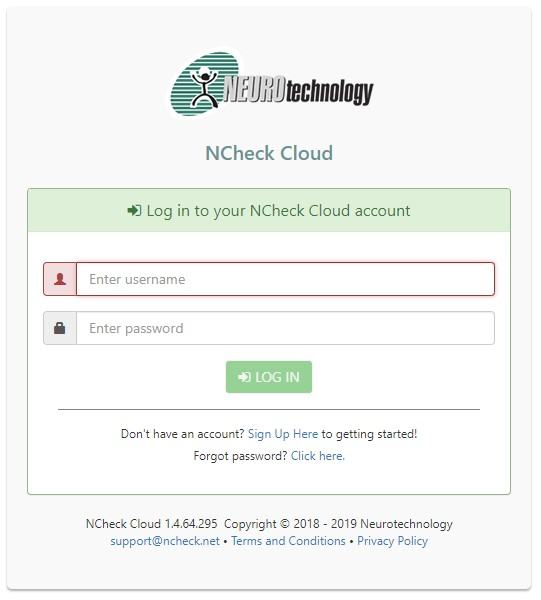
Enter the username and password in NCheck Bio Attendance control panel login page and sign in to NCheck Bio Attendance Control panel.
Note
For NCheck Bio Attendance on-premises server, the default admin user name and password are “admin”.
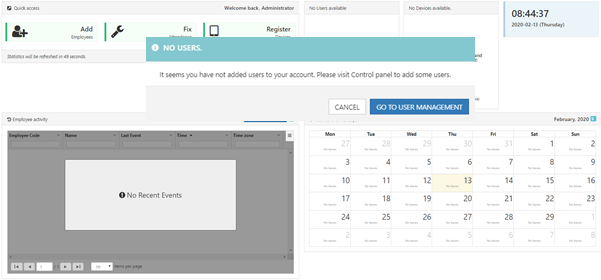
Figure 11 NCheck Bio Attendance control panel initial dashboard view
After signing in, you will be landed in the NCheck Bio Attendance Control Panel Dashboard as shown in Figure 11
Refer Sign in to web Control Panel section for more details about sign in NCheck Bio Attendance control panel. When signing in second time onwards, you will be landed to the last time accessed page.
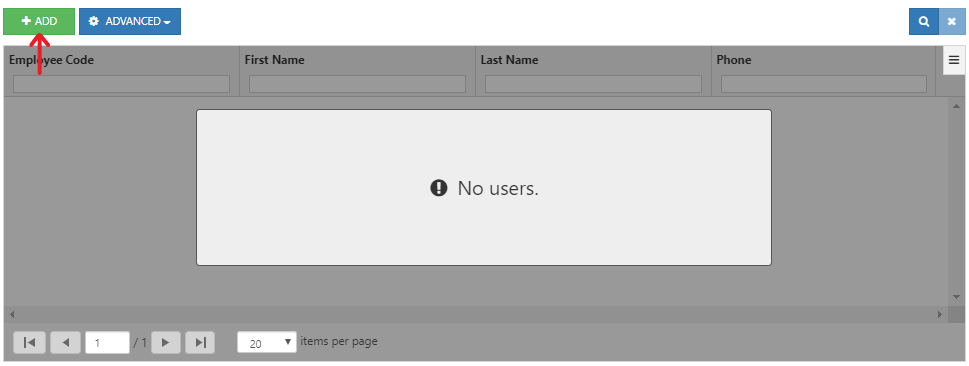
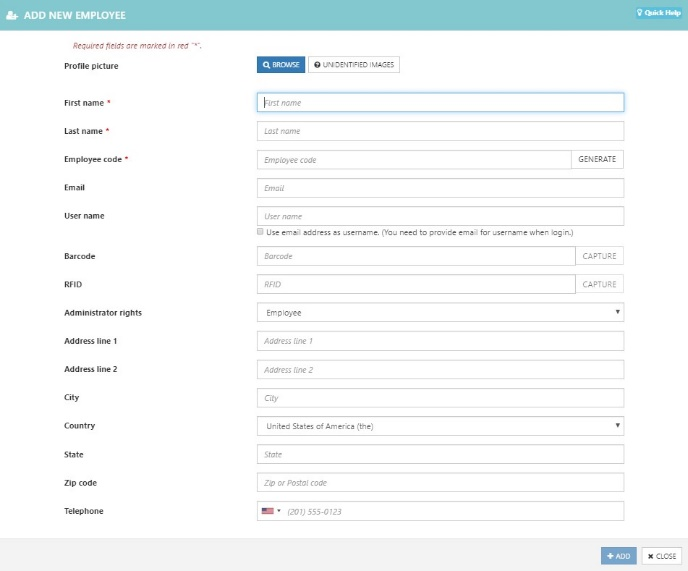
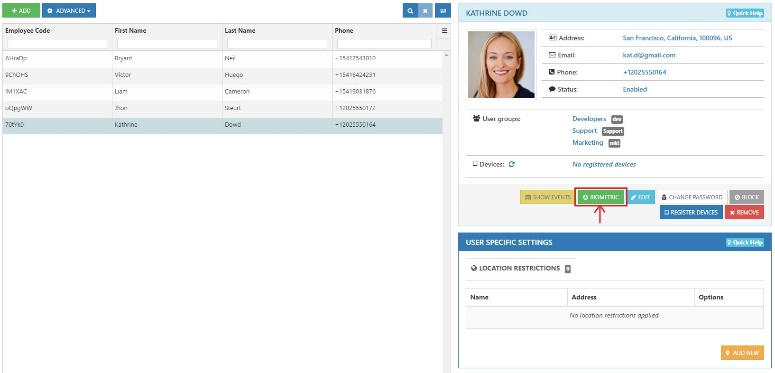
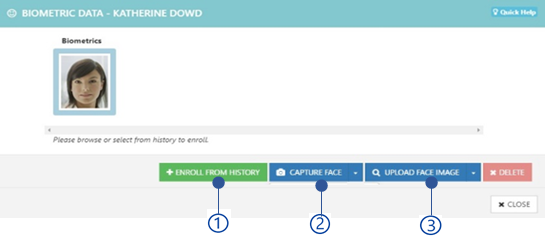
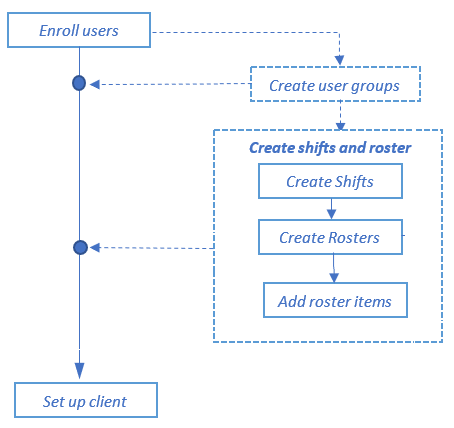
If the initial required data is not set up, it will be notified to perform the initial setting up. First the users should be enrolled as mentioned in Enroll users section.
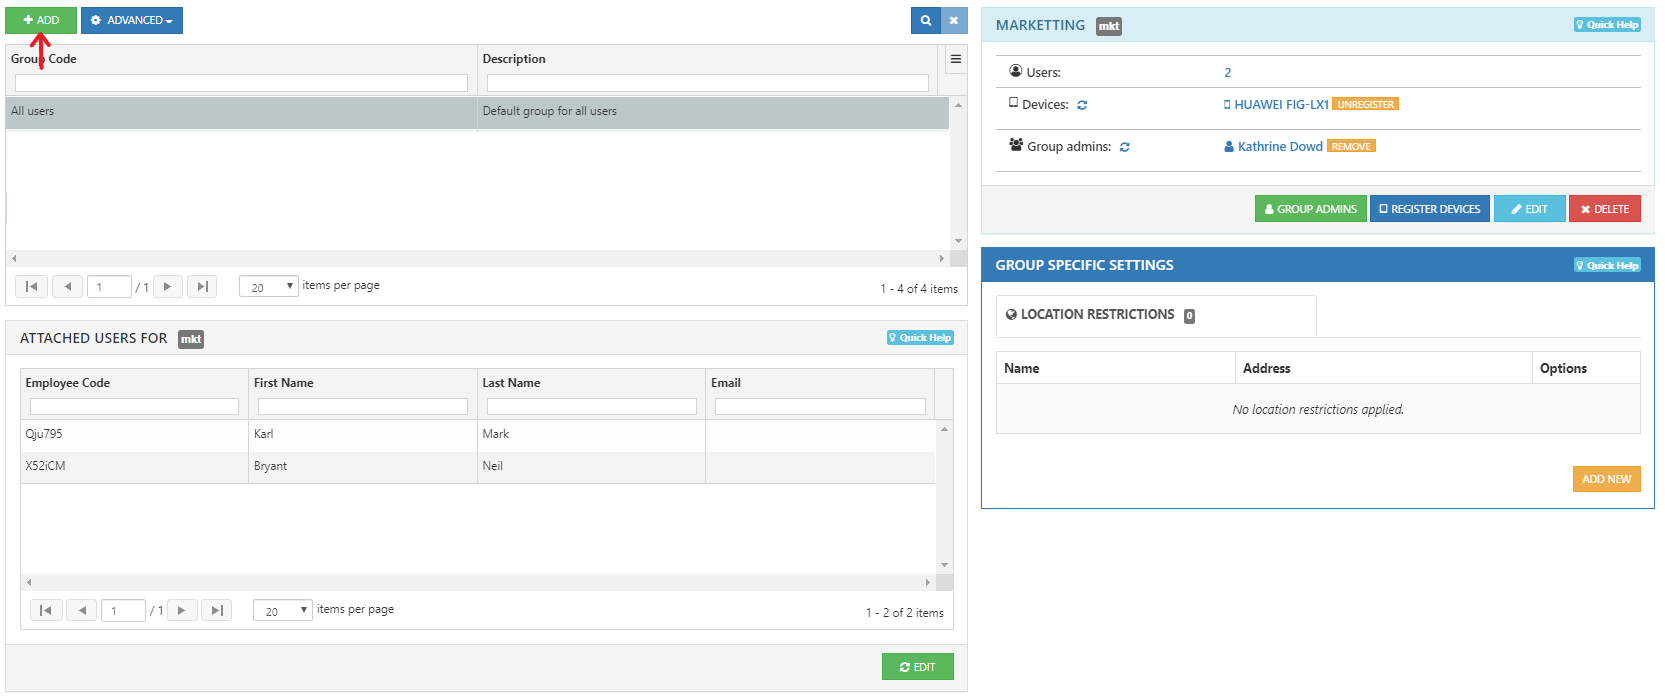
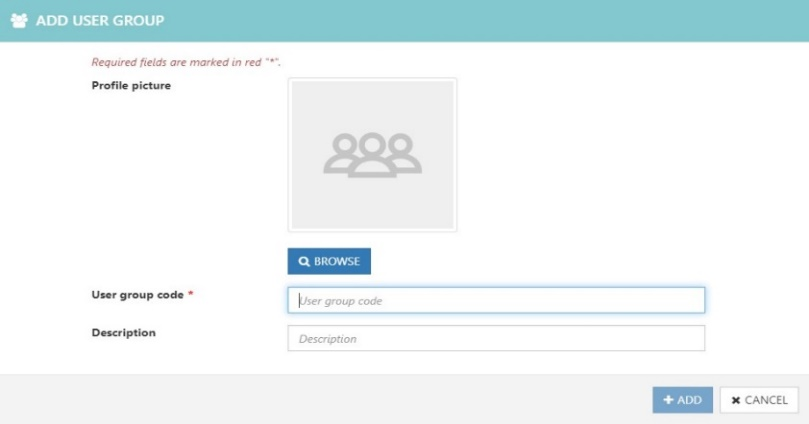
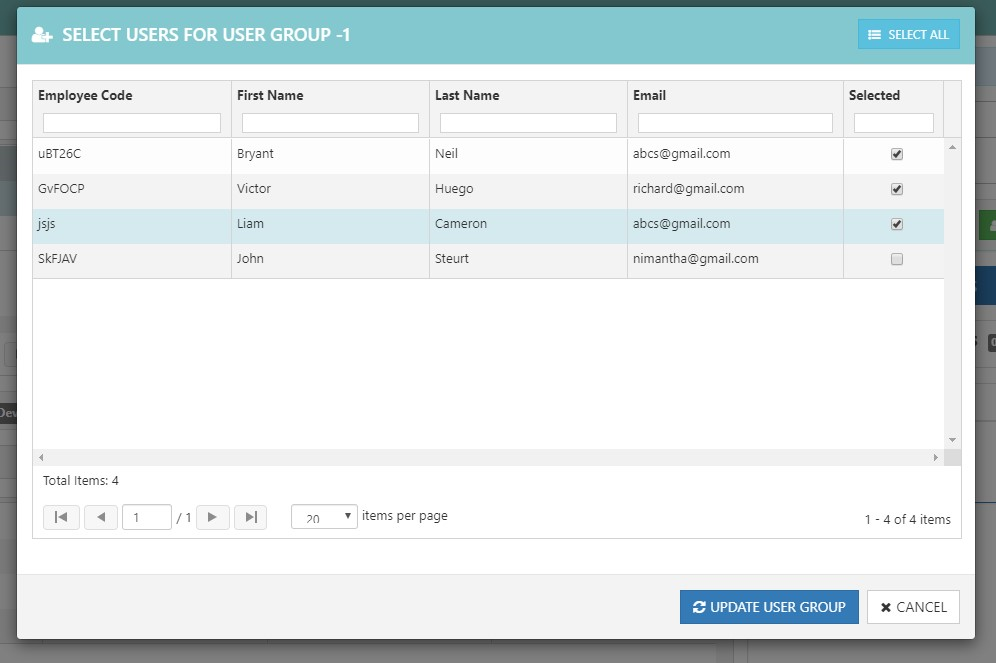
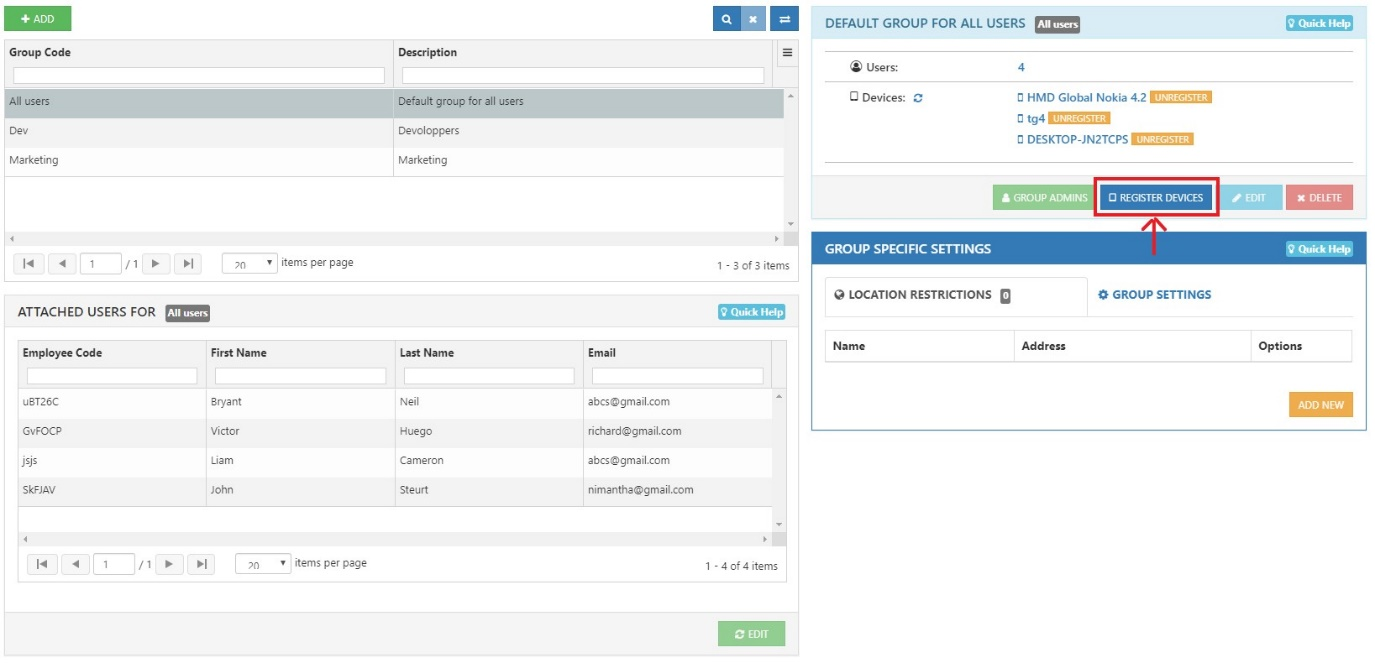
User group represents multiple users and all the settings applied to user group apply to each user representing the user group. To create the user group,
Select User group management in the control panel.
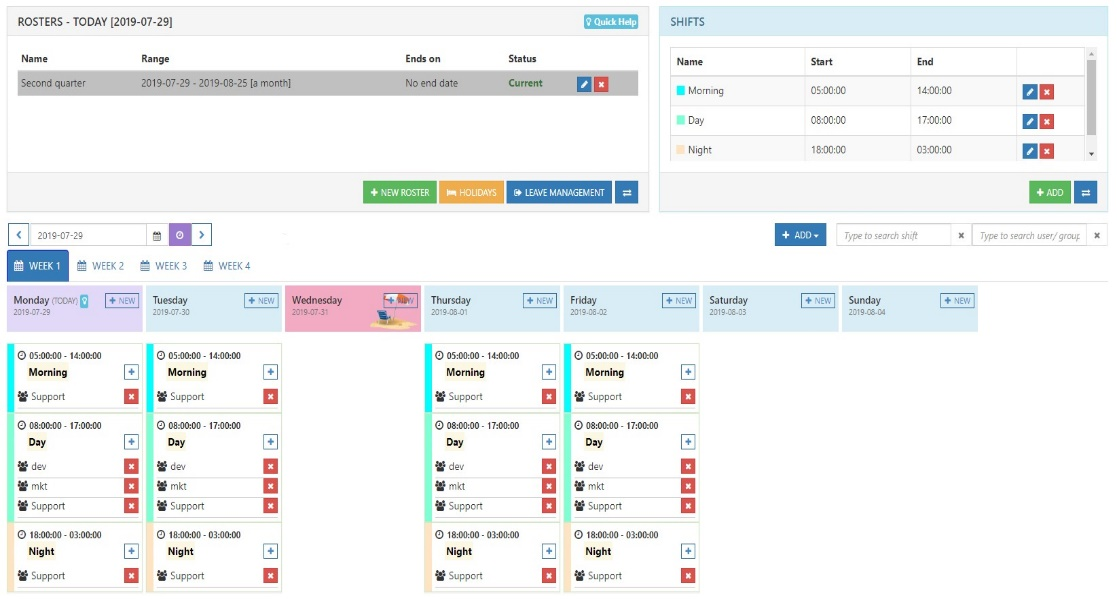
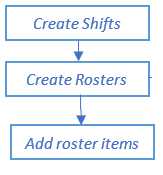
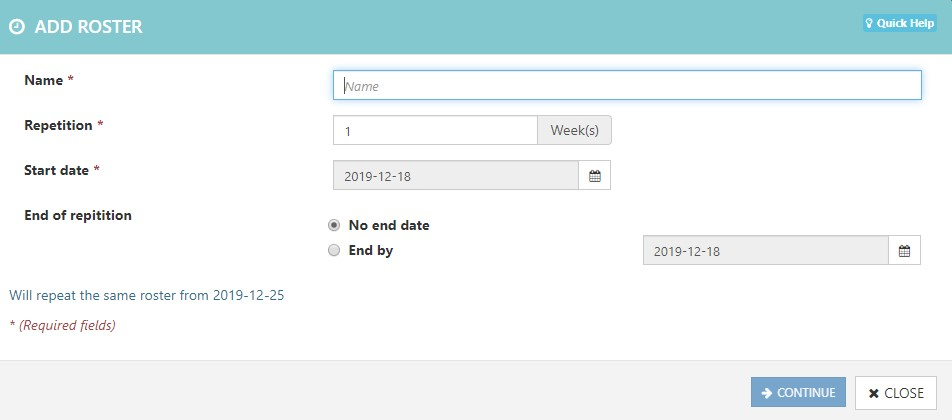
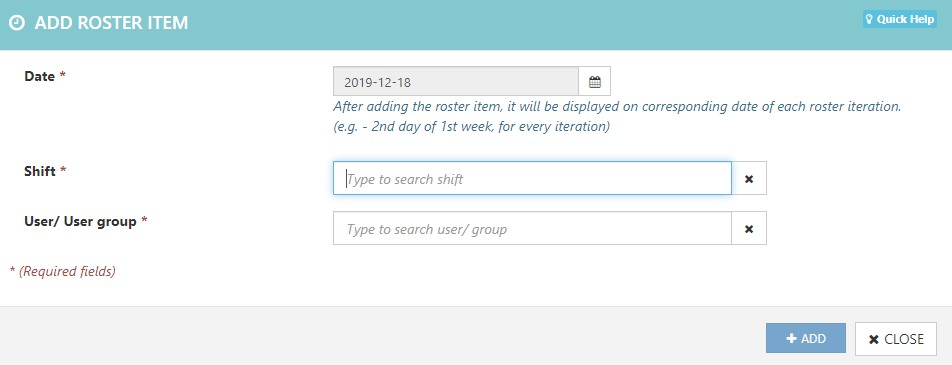
Work schedule of the users/user groups in the organization can be managed in this section. To manage shifts and rosters,
• Select Shift and Roster in the control panel menu.
Search or enter server user in <server:<port> format. When the server is running in the same computer, it can use localhost:<port>. Default port number is 8443.
Select the Connect button to register.
After Successful registration, the client application is ready for attendance recording
NCheck Bio Attendance Lite for Windows, Android and IOS
Attach a camera compatible with the NCheck Bio Attendance as mentioned in the website, if it is not available.
Face to the camera directly and select the capture button when the preview is available with the device.
NCheck Bio Attendance Standard for Windows and Android
Attach a compatible biometric device (face, fingerprint or iris) with the NCheck Bio Attendance as mentioned in the website, if it is not available with the device.